Showing posts with label home. Show all posts

Sunday, March 25, 2012

Coconut Chocolate Chip Cookies


Hi there!

It has been too long. My fault.

I went to Tennessee and dug some stuff up. I made pasta (more on this later) and marshmallows. I made another quilt (I know I am obsessed, pictures coming soon). I drank some drinks with my dear friends as they celebrated their birthdays. My car had expensive surgery. I might have cried (about my car's health problems). It has sort of been a momentous couple of weeks.

Pasta!
This is a funfetti birthday cake I made from scratch, cause I am way too cool for cake mix (apparently).
I made this bag as a birthday present for a special someone. It reminds me of sunshine.
In a month I am going to visit my love. As part of my vacation, we are going to go on a week long meta-vacation to Belgium. My plans involve beer, frites, waffles, and sprouts (in my head, Brussels sprouts are just sprouts when you are actually in Brussels). I am sure we will do other things. Mostly it is a chance to relax with my love. It has been over a year since we got to take a real vacation together and, even then, I am not sure two nights in an inn after our wedding counts as a vacation.

If anyone has Belgium suggestions please help!


Max's idea of having his picture taken is attacking the camera strap (this is a photo shoot "out take").

I also made cookies. I am not sure how to describe these cookies. They taste like chocolate chip cookies, but they have this vague coconut flavor that is just enough to make the you look at them twice. They are chewy and chocolatey and everything a chocolate chip cookie should be plus some.

They are comforting and exotic all in one bite.

Coconut Oil!

Coconut Chocolate Chip Cookies
Makes about 24 cookies


2 1/4 cups (300 g) All-Purpose Flour
1 teaspoon (6 g) Baking Soda
1 teaspoon (6 g) Salt
3/4 cup (150 g) Granulated Sugar
3/4 cup (142 g) Brown Sugar
1 cup (227 g) Coconut Oil (melted and slightly cooled)
2 Large Eggs
1 teaspoon (57 g) Vanilla Extract
2 cups Chocolate Chips
1/2 cup Unsweetened Dried Coconut Flakes

1. Preheat the oven to 375 degrees F.

2. Whisk the flour, baking soda, and salt in a large bowl.

3. In another bowl, whisk together the sugars, coconut oil, eggs, and vanilla.

4. Add the sugars (wet bowl) to the flour. Then add the coconut flakes and the chocolate chips, stir until just combined. The batter should not be smooth.

Cookie dough. Why do you taste so good?
5. Scoop out golf ball sized balls (maybe slightly smaller) onto a parchment (or sil-pat) lined baking sheet. Bake for 12-14 minutes, rotating the tray once at 6 minutes, until the cookies are golden brown. Let them cool on the cookie sheet for 2 minutes and the move them to a rack to cook completely.


Ready to bake.
Cookies!

Time to eat. End of story.

Saturday, February 18, 2012

Swiss Chard and Winter (in a manner of speaking)

Is that swiss chard in that sandwich? Brilliant.
It is winter here in North Carolina.

Winter is hiding just like the fuzz (sorry couldn't resist posting this picture).
Well, that is not exactly true. It would be more accurate for me to say it is February in North Carolina.  Winter implies a certain amount of cold miserable weather, which has just not happened. I am okay with that. I have decided that if I can not ski I do not care for winter. All it does is kill my favorite vegetables.

Except this year it has not! I mean, I am not eating tomatoes or anything, but certain winter greens have been coming to the farmer's market every week (that's right, we hippies in the south have a year round farmer's market). It is certainly not the bounty we get in summer. In February, I will take it.

I have many favorite winter vegetables. I love carrots, brussels sprouts, squash, and I have even developed a soft spot for kale (prepared properly). My favorite is swiss chard.

Reasons swiss chard is kick a** (this blog is PG, sort of):
1. It is beautiful (I know it comes in rainbow and plain, as with most things, I prefer rainbow). I love bright colors and this is one vegetable that can give me that in spades.

Rainbow Chard! I have no idea why my cell phone is right there. I am probably checking Facebook or something else essential. A glimpse into my fascinating life.
2. It is versatile. Soup, gratin, tossed with pasta, sauteed with [insert favorite seasonings here], and many other applications all taste wonderful.

3. It makes me feel healthy. I know that chard is not healthy when doused in cream, covered in cheese, or cooked with olive oil, but a girl can convince herself otherwise. This is a vegetable. Healthy.

Garlicky Swiss Chard Grilled Cheese
Serves 2 to 4 depending on how much chard you get

1 Bunch of Swiss Chard (I like rainbow, but it really does not matter)
2 cloves garlic
Olive oil
Salt
Butter
Bread (I prefer sourdough sandwich bread, but a whole grain bread would be healthier and anything will really do)
Cheddar Cheese (I like a sharp white cheddar, but make it your own!)

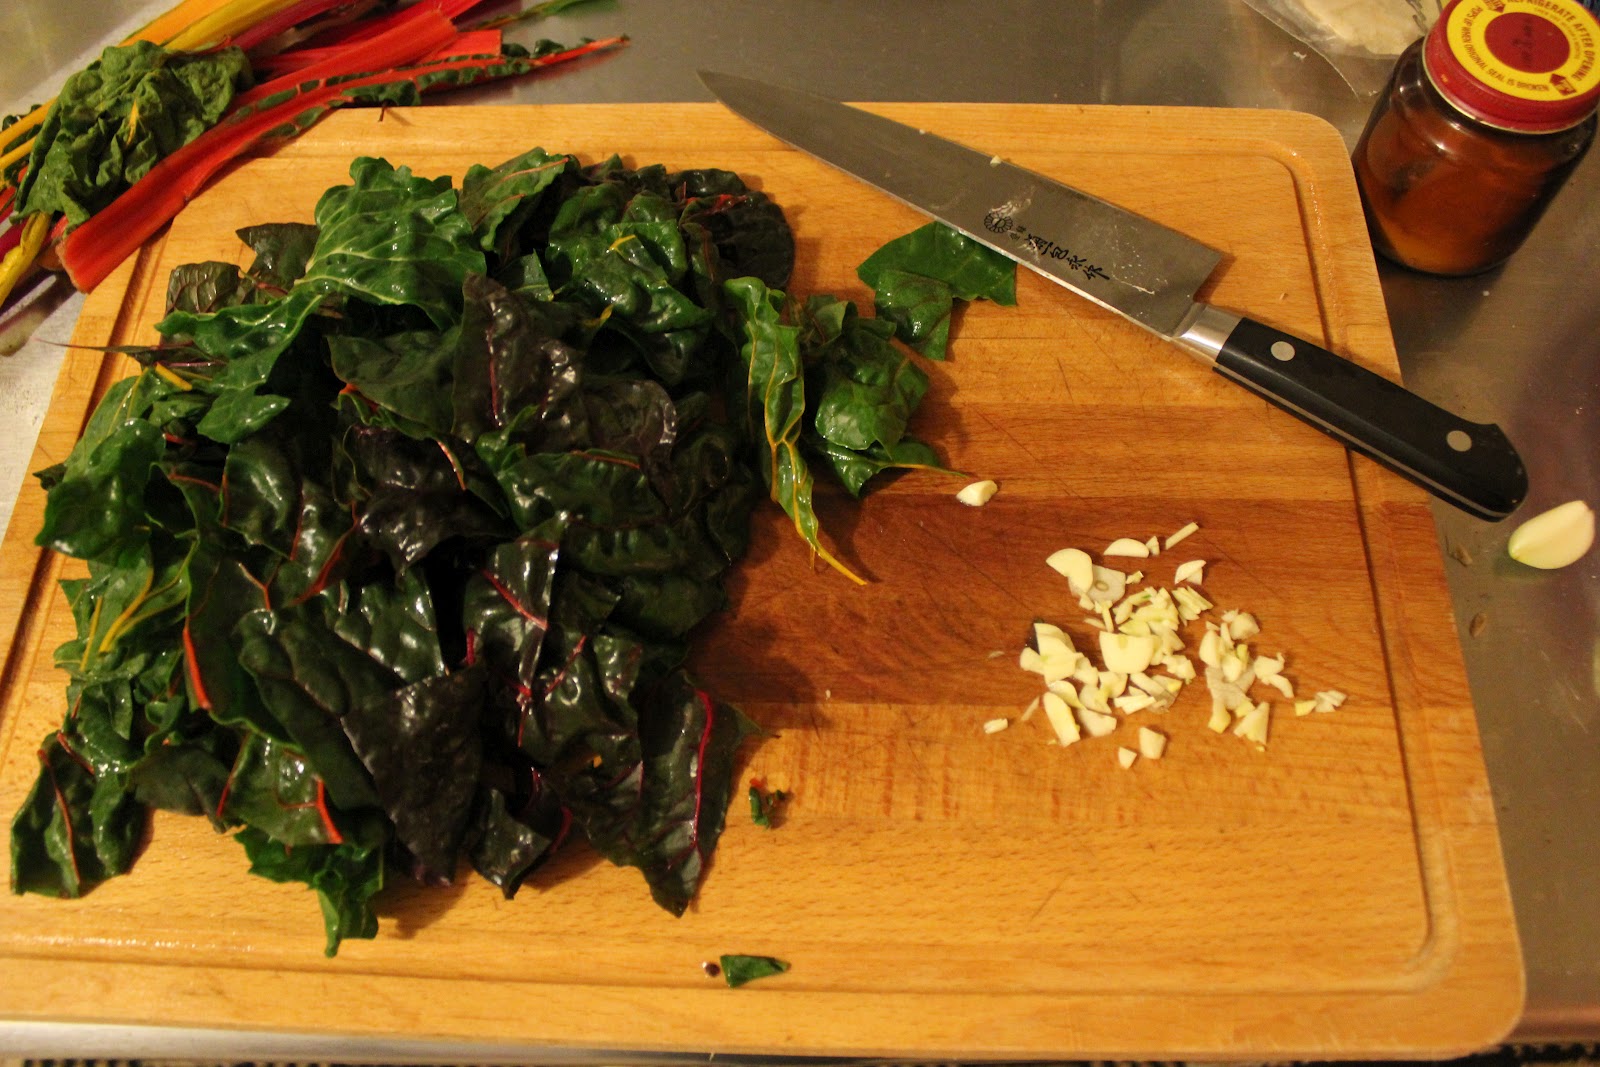
1. Remove the swiss chard from the stems and roughly chop it into approximately 2 inch square pieces. Peel and chop up the garlic cloves. If you are a better person than me chop up your stems and use them too. I am going to save these for something else because I do not like the texture in the sandwich.
Tasty chard and so beautiful
2. Heat a heavy pan to medium heat with about a tablespoon of olive oil. Toss the chard, garlic, and a pinch of salt in the heated pan. Stir to get everything combined. Cook for about 1 minute like this then cover the pan and reduce the heat to medium low. Cook this way until the chard is tender and droopy (about 5 minutes). These will need longer if you added the stems. Remove the lid and let all of the water cook off. Take the chard out of the pan, but leave the pan on the heat.
Before
After
3. Take two slices of bread and butter one side. You can be as generous or stingy as you would like here. I try and straddle a very fine line between gluttonous and boring. More butter = more crusty deliciousness.

Buttering bread. What's that Sarah, an apple cider? I am going to start calling it chef juice (thanks Gilmore Girls).

4. Slice your cheddar to taste and place it on the unbuttered side of one of your bread slices. Cover this cheese with a generous handful of chard. Add the other slice of buttered bread on top (butter up). Repeat process with all of the sandwiches you wish to make.

Assembling sandwich.
5. Put this sandwich on the heavy pan. No grease necessary, remember the butter. Cook until the bottom is golden brown and the cheese has started to melt. Sometimes I use the lid for part of this time to speed up the cheese melting. Flip the sandwiches and do the same for the other side.

Sandwiches in the pan.
6. Remove and serve with tomato soup, roasted potatoes, by themselves, the world is your oyster.

Served with roasted potatoes. Winter dinner. Done. 

Thursday, August 18, 2011

Perfecting the BLT


Remember Platonic forms from college?

Plato talked about how the things we see in the world are really only mimicking the true Form (yeah, apparently we do capitalize that word in this context). These Forms are the blueprint of perfection. Perfection exists in theory and we recreate it imperfectly in the physical world.

I know, I sound like a crazy person. I am probably totally misusing Platonic philosophy... I think about true forms of food a lot. For example, in Platonic philosophy there is a true Form of the tomato. When I eat a really good looking, delicious tomato in August I think to myself, "This is pretty close to that Platonic ideal."

Really, I do think this. I know the honors program in undergraduate was a bad thing for me...

I think Max the cat is very close to the perfect feline Form.

I think a lot of food people think like this though, striving for the perfect dish or ingredient. I know that perfection is relative, but whatever! Allow me my musings.

Derek and I have a group of friends who have been pursuing some ideal food Forms together. By this I mean we have met a couple of times trying to perfect classic dishes. By classic, I mean those things you can get in any American diner.


Earlier this summer we collectively made hamburgers. We ground our own meat, made our own ketchup, buns, etc. They would have made Plato smile from whatever cave he sits in (hahaha, philosophy humor).

Those are some good looking hamburger buns, what they have bacon in them? Those are some GREAT looking buns...

This week we tackled the BLT. The acronym indicates bacon, lettuce, and tomato are the primary ingredient of this sandwich. We actually varied from this a little bit, so I am not sure it is a true close to perfect BLT, but we did make a close to perfect sandwich.


I cannot really post a single recipe up for our BLT spectacular. Each ingredient has its own little story. I think I will just put up pictures of the festivities. Sorry if the pictures are a little yellow. It was kind of dark in there.

The Crew
David
Aaron

Derek (also known as my true love)

Jono

and me of course.


The Beer and the Lettuce
This is red leaf lettuce and that beer is from Fullsteam, a one year old Durham brewery that Derek and I are obsessed with. To be fair Jono provided lots of other beer and Aaron brought wine.

The Bread
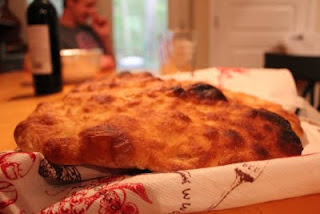
Actually, Derek and I made Pizza Bianca. Sliced in half this is a delicious sandwich bread.

Maybe we also lightly pan fried the inside in bacon fat.

The Bacon
David made this! I feel like such a bacon proselytizer.

Fried on low heat until just starting to crisp, not too crispy though.

The Tomatoes
I actually have no idea what kind of tthese are. They came in our CSA, so the red kind...

Condiments and Sides
Aaron and David made Aioli

Aaron's ratatouille

David's Green Bean Salad

Yes, those are roasted Hatch Green Chiles in the foreground.

Perfection

Do not judge me for my glass of wine and glass of beer. That is totally normal. Do you ever notice how many of my food photos have some sort of alcoholic beverage slightly in the frame? Oh dear...

Thanks guys!

Friday, July 8, 2011

Anniversary Weekend Spectacular! Pizza!

Derek and I are celebrating our one year anniversary this weekend. Our actual wedding anniversary is on Sunday (July 10th). To celebrate this wonderful year, we are spending the whole weekend at home, eating and relaxing.


To kick off this celebration weekend we started with pizza and beer, Derek and Sarah style...

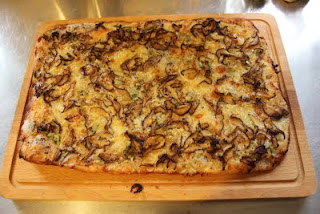
Blue Cheese, Shitake Mushroom and Pepper Pizza

It all starts with the dough... This can be done ahead of time. Please don't buy pizza dough, this is so easy. Buying dough is a giant waste of money.

The Dough
From My Bread by Jim Lahey

10 grams ( Active Dry Yeast
5 grams Table Salt
3 grams Sugar
500 grams Bread Flour
1 1/3 cup water (may need another tablespoon or so depending on the moisture content of dough)

1. Mix the dry ingredients (yeast, salt, sugar, and flour).

2. Heat the water in a microwave until it is warm to touch, but not hot (approximately 100 degrees).

3. Add water to dry ingredients and stir until all of the flour is incorporated into the dough (you may need more water at this point) using a spoon and your hands. The dough will be stiff and slightly sticky.

4. Cover and let sit in a warm place for about 2 hours, the dough should more than double in size.

5. On a clean, well floured surface turn out the dough and form it into a rough ball. Divide that ball in half using a knife or dough cutting thing. Gently form each half into a ball. Cover the balls of dough (spaced about 4 inches apart) with a non-linty towel and let them rest for 30 minutes.

6. At this point, you can either make pizza or store your dough. If you are storing the dough put a generous amount of olive oil (2-4 tablespoons) in a gallon size zip top bag and place the dough ball inside (1 ball per bag). Now it can be refrigerated for 1-2 days or frozen for a month. We usually use one dough ball and freeze the other for later. When you are ready to use the frozen or refrigerated dough allow it to come to room temperature before you make pizza.

The Pizza

1 pound Shitake Mushrooms (stems removed and sliced)
Sea Salt
1 tablespoon Unsalted Butter
1/4 cup plus 2-4 tablespoons Extra Virgin Olive Oil (with more for oiling the pan)
10 cloves of Garlic (chopped)
2 jalapeño (thinly sliced, seeds removed if you are wus)
2 tablespoons Cream Sherry
1/2 pound Blue Cheese (crumbled)
1/2 pound Mozzarella (sliced)
1/2 Onion (thinly sliced)

1. Mix about 1/4 cup of olive oil with 5 cloves and sliced jalapeño. Add a heavy pinch of salt and allow it to marinate for about 30 minutes. Longer is better...

2. Heat a large saute pan at medium low heat with 2-4 tablespoons of olive oil and 1 tablespoon butter. Add the sliced shitake mushrooms and another pinch of salt and saute until they are beginning to caramelize (5 to 10 minutes).

3. Add the cream sherry and cook off the liquid (5 minutes).

4. Sprinkle the half sheet pan with a generous drizzle of olive oil. Using your hands, spread the the room temperature dough out in the pan to evenly cover most of the pan.

5. Brush the infused oil on the stretched out dough make sure to spread out the garlic and peppers evenly. Spread the onion out evenly across the pizza.

6. Next, spread the cheese and the mushrooms across the dough.

7. Bake the pizza at 500 degrees for about 20 minutes, rotating the pizza half way through. Now slice and enjoy.


Then we feasted. We also made a tomato salad (remember all of those tomatoes?), poured a delicious Belgian farmhouse ale, and began feasting. Pizza with no tomatoes, and then we serve them on the side... strange people that we are...

This was pretty delicious. Yum, pizza and beer.

For some people it is tomato salad and pizza, for some cats it is kibble. Everyone is happy.