Sunday, April 8, 2012

Momentous Weekend with Poached Eggs!

This has been quite a weekend.

To tell you about this weekend, I need to start with this week. I was in the Washington D.C. suburbs this weekend for work. The work was pretty routine for us, those cemeteries need mapping.  We did get to go into the city on the Metro one evening, which was nice because I got to see my dear friend Matt.

This car is covered with seed beads (on the inside too). It is on display in the Museum of the American Indian.

Hello D.C. (sorry this photo is so bad)!
After leaving the job, I started to notice my scratchy throat. By Thursday, I was fully sick. Fever. Sore throat. I blame the Metro. Dirty trains. My no-kid exposure, no public transit, hermit-like existence means my immune system is the straw house to this years cold viruses. By Friday, I felt a little better. On Saturday my fever was back. Where is the justice in this! Sunny warm weekend sickness is the worst kind of sickness.

I have spent most of my weekend on the couch. I have read three books and watched several hours of "How I Met Your Mother" on Netflix. Enough about my pathetic existence.

In a few hours of clarity, I went to the farmers market and made myself breakfast. This is momentous because I poached an egg! Amazing! Right?!

I have never been able to poach an egg before. I watched this video and then I did it. I just did it. It was so good. I should mention I have failed repeatedly to do this in the past.

This is not so much a recipe as a suggestion. It is also something that I am not the first person to come up with. Asparagus and eggs! Shocking combination.
 
Spring in food.

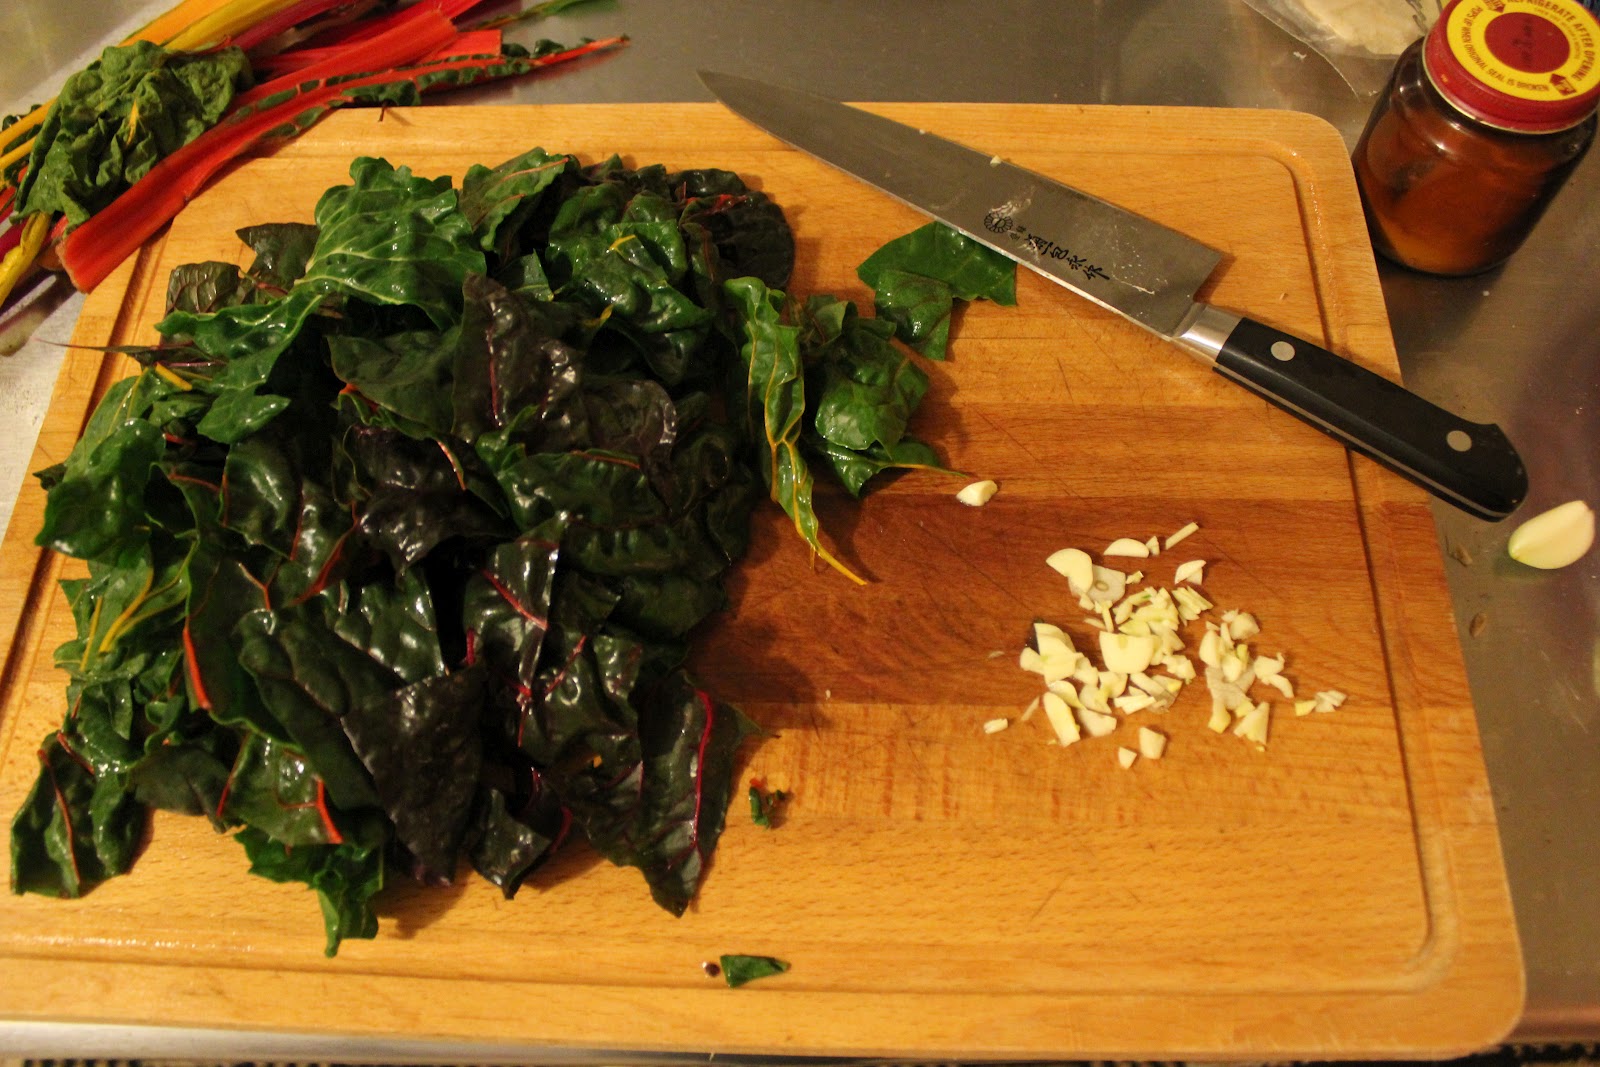
Spring has come to North Carolina. I got asparagus, green garlic, cucumber, strawberries, and pea greens. That's right, strawberries. 

Delicious food.

Poached Eggs with Asparagus on Toast
This is not a recipe, adjust portions according to desired serving amounts

Asparagus 
Eggs
Bread
Salt
Butter
Olive Oil
Parmesan Cheese

1. Clean and trim the asparagus. Lightly toss with olive oil and a pinch of salt. Broil asparagus for about 6 minutes, turning at about 3 minutes.

2. Meanwhile, toast bread, then butter the toast. If you are using unsalted butter, I suggest you add some salt as you are buttering the bread. 

3. Poach eggs. I am not going to give directions for this because other people have done a better job than I ever could. This is the tutorial that finally worked for me. 

4. Place the asparagus on the toast, then top with the eggs. Grate some parmesan on top of the eggs. This is a great breakfast or lunch (or dinner).
Delicious.
Max love the spring sun. He enjoys basking.

Tuesday, March 27, 2012

Scrappy Miniature Quilt


I made another quilt (I know I am obsessed). 


This time I was inspired by the wonderful blogger here who started talking using scraps to make more beautiful things. I liked the idea of using small bits of things you already have from other projects

This is a very scrappy little quilt, even the whites were resurrected from some other project.


It measures 22x22 inches. If you are a quilter (and care) it is just a simple half square triangle star with some sashing around it. I do love a good star. I decided to get creative in my quilting, because this is only the third quilt I have every quilted and I wanted to try something crazy, well crazy for me.

It is simple and small, but it makes me happy! I think tomorrow it is going to move to my office wall.

Third Quilt!

Scrap Attack Quilt-Along

Sunday, March 25, 2012

Coconut Chocolate Chip Cookies


Hi there!

It has been too long. My fault.

I went to Tennessee and dug some stuff up. I made pasta (more on this later) and marshmallows. I made another quilt (I know I am obsessed, pictures coming soon). I drank some drinks with my dear friends as they celebrated their birthdays. My car had expensive surgery. I might have cried (about my car's health problems). It has sort of been a momentous couple of weeks.

Pasta!
This is a funfetti birthday cake I made from scratch, cause I am way too cool for cake mix (apparently).
I made this bag as a birthday present for a special someone. It reminds me of sunshine.
In a month I am going to visit my love. As part of my vacation, we are going to go on a week long meta-vacation to Belgium. My plans involve beer, frites, waffles, and sprouts (in my head, Brussels sprouts are just sprouts when you are actually in Brussels). I am sure we will do other things. Mostly it is a chance to relax with my love. It has been over a year since we got to take a real vacation together and, even then, I am not sure two nights in an inn after our wedding counts as a vacation.

If anyone has Belgium suggestions please help!


Max's idea of having his picture taken is attacking the camera strap (this is a photo shoot "out take").

I also made cookies. I am not sure how to describe these cookies. They taste like chocolate chip cookies, but they have this vague coconut flavor that is just enough to make the you look at them twice. They are chewy and chocolatey and everything a chocolate chip cookie should be plus some.

They are comforting and exotic all in one bite.

Coconut Oil!

Coconut Chocolate Chip Cookies
Makes about 24 cookies


2 1/4 cups (300 g) All-Purpose Flour
1 teaspoon (6 g) Baking Soda
1 teaspoon (6 g) Salt
3/4 cup (150 g) Granulated Sugar
3/4 cup (142 g) Brown Sugar
1 cup (227 g) Coconut Oil (melted and slightly cooled)
2 Large Eggs
1 teaspoon (57 g) Vanilla Extract
2 cups Chocolate Chips
1/2 cup Unsweetened Dried Coconut Flakes

1. Preheat the oven to 375 degrees F.

2. Whisk the flour, baking soda, and salt in a large bowl.

3. In another bowl, whisk together the sugars, coconut oil, eggs, and vanilla.

4. Add the sugars (wet bowl) to the flour. Then add the coconut flakes and the chocolate chips, stir until just combined. The batter should not be smooth.

Cookie dough. Why do you taste so good?
5. Scoop out golf ball sized balls (maybe slightly smaller) onto a parchment (or sil-pat) lined baking sheet. Bake for 12-14 minutes, rotating the tray once at 6 minutes, until the cookies are golden brown. Let them cool on the cookie sheet for 2 minutes and the move them to a rack to cook completely.


Ready to bake.
Cookies!

Time to eat. End of story.

Wednesday, February 22, 2012

Swiss Chard and Sausage Rigatoni + Real Talk

I am going to get real here. I am sorry, you can skip to the recipe if you want.


I don't mind.


Derek has been gone since the middle of September. He came back for two weeks for Christmas and we try to talk everyday. I am going to see him in 62 days (for two weeks). That is it.

Then he is coming home in 143 days. 

I miss him more than I can say.

I am totally a modern woman. I am self-sufficient, someone who manages people (in small numbers), organizes travel, and drives long distances alone. I have lived alone, travelled abroad alone, and worked in foreign countries. I do not think of myself as co-dependent. Derek and I have totally done this before too. He spent a year in Germany while I was in graduate school in Denver. 

Somehow this year is different. Derek is gone and I am empty. I get home from work and the house is empty. There are no cuddles in the bed before I go to sleep (except with the kitten, but that is a different story). Everything is very empty. 

I feel like I should not feel sorry for myself. I have a great home, wonderful friends, a great family, an awesome job, and a very cuddly stripped kitten. I also get to have a full time Derek in just 143 days, tons of people are not so lucky. It's just that I am missing my love always.

When I busy with friends, work, and sewing it not a big deal. When I am not busy it is easy to be a little sad. 

Sorry for the pity party. 

Now for a recipe. This dinner makes me happy, in a way only food can. Derek loves this dinner too. 

It is really easy and fast. Perfect happy food, plus if you use rainbow chard you get to eat a cheerful rainbow, which is nice on a cloudy day. 

Rainbow!
Swiss Chard and Sausage Rigatoni
Extensively modified from an old Real Simple cookbook
Serves 4

1 pound dried rigatoni (penne or ziti would work too)
1 tablespoon olive oil
1 pound chorizo or hot italian sausage*
2 cloves garlic, thinly sliced
1 14.5 ounce can of vegetable broth
1/8 teaspoon red pepper flakes
1 bunch swiss chard, stems removed and roughly chopped
2 tablespoons unsalted butter
1 1/2 cups (6 ounces) grated parmesan
1/4 teaspoon kosher salt
1/4 teaspoon black pepper

1. Boil water with plenty of salt and cook the pasta al dente according to the directions, about a minute less than the package directions. 

2. In a large non-stick frying pan, heat the olive oil over medium heat. Add the sausage and cook it all of the way, about 7 minutes. Spoon off and discard the excess fat. 

Cooking the pork. This is the best pork ever.
3. Add the garlic and cook for 1 minute. Then add the broth and red pepper flakes and bring them to a boil. Then, add the swiss chard, cover, and cook for about 3 to 4 minutes. Add the butter and pasta to the sauce and stir until combined. 

Yes, I have a kitty cat spatula. It makes me smile.
Pork Sauce!
Swiss Chard and pork sauce.
4. With the lid off stir the pasta and the sauce until the sauce thickens and some of the broth boils off. Stir in the parmesan cheese and salt and pepper. 

Now it is time to stir.
Pasta combined!
5. Serve. No cheese on top. This has plenty of cheese already.

Dinner. Wine. Always.
*Please buy locally raised and antibiotic free pork. Smithfield is the devil. 

Pork from here

Saturday, February 18, 2012

Swiss Chard and Winter (in a manner of speaking)

Is that swiss chard in that sandwich? Brilliant.
It is winter here in North Carolina.

Winter is hiding just like the fuzz (sorry couldn't resist posting this picture).
Well, that is not exactly true. It would be more accurate for me to say it is February in North Carolina.  Winter implies a certain amount of cold miserable weather, which has just not happened. I am okay with that. I have decided that if I can not ski I do not care for winter. All it does is kill my favorite vegetables.

Except this year it has not! I mean, I am not eating tomatoes or anything, but certain winter greens have been coming to the farmer's market every week (that's right, we hippies in the south have a year round farmer's market). It is certainly not the bounty we get in summer. In February, I will take it.

I have many favorite winter vegetables. I love carrots, brussels sprouts, squash, and I have even developed a soft spot for kale (prepared properly). My favorite is swiss chard.

Reasons swiss chard is kick a** (this blog is PG, sort of):
1. It is beautiful (I know it comes in rainbow and plain, as with most things, I prefer rainbow). I love bright colors and this is one vegetable that can give me that in spades.

Rainbow Chard! I have no idea why my cell phone is right there. I am probably checking Facebook or something else essential. A glimpse into my fascinating life.
2. It is versatile. Soup, gratin, tossed with pasta, sauteed with [insert favorite seasonings here], and many other applications all taste wonderful.

3. It makes me feel healthy. I know that chard is not healthy when doused in cream, covered in cheese, or cooked with olive oil, but a girl can convince herself otherwise. This is a vegetable. Healthy.

Garlicky Swiss Chard Grilled Cheese
Serves 2 to 4 depending on how much chard you get

1 Bunch of Swiss Chard (I like rainbow, but it really does not matter)
2 cloves garlic
Olive oil
Salt
Butter
Bread (I prefer sourdough sandwich bread, but a whole grain bread would be healthier and anything will really do)
Cheddar Cheese (I like a sharp white cheddar, but make it your own!)

1. Remove the swiss chard from the stems and roughly chop it into approximately 2 inch square pieces. Peel and chop up the garlic cloves. If you are a better person than me chop up your stems and use them too. I am going to save these for something else because I do not like the texture in the sandwich.

Tasty chard and so beautiful
2. Heat a heavy pan to medium heat with about a tablespoon of olive oil. Toss the chard, garlic, and a pinch of salt in the heated pan. Stir to get everything combined. Cook for about 1 minute like this then cover the pan and reduce the heat to medium low. Cook this way until the chard is tender and droopy (about 5 minutes). These will need longer if you added the stems. Remove the lid and let all of the water cook off. Take the chard out of the pan, but leave the pan on the heat.
Before
After
3. Take two slices of bread and butter one side. You can be as generous or stingy as you would like here. I try and straddle a very fine line between gluttonous and boring. More butter = more crusty deliciousness.

Buttering bread. What's that Sarah, an apple cider? I am going to start calling it chef juice (thanks Gilmore Girls).

4. Slice your cheddar to taste and place it on the unbuttered side of one of your bread slices. Cover this cheese with a generous handful of chard. Add the other slice of buttered bread on top (butter up). Repeat process with all of the sandwiches you wish to make.

Assembling sandwich.
5. Put this sandwich on the heavy pan. No grease necessary, remember the butter. Cook until the bottom is golden brown and the cheese has started to melt. Sometimes I use the lid for part of this time to speed up the cheese melting. Flip the sandwiches and do the same for the other side.

Sandwiches in the pan.
6. Remove and serve with tomato soup, roasted potatoes, by themselves, the world is your oyster.

Served with roasted potatoes. Winter dinner. Done. 

Friday, February 17, 2012

I finished my Mom's birthday quilt

I just needed to share these pictures because they make me so happy! Feel free to ignore the glimpses of my neighbors house and my crazy yard.

Quilt!
This was the secret project I alluded to about a month ago. The colors are inspired by the winter sunrise as I see it through my rearview mirror while driving to work. Do you see it? Maybe not...

I love you Mom!
I cut, sewed, quilted, and embroidered. Now it is done. It is warm and soft and I hope she loves it as much as I do.

This is hard to see, but the back is pieced from some of the same colors  as the front.. Also, yes I have a traffic cone in my back yard, no I did not steal it. Uh, if you do not know my neighborhood it is a little hard to explain. Can I just say it is interesting?
I put a lot of love into this quilt, now it is off in the Portland wilds. Second quilt done!

Sunday, January 15, 2012

My List Accomplishments

Max has no goals, which I feel this picture demonstrates.
Remember my list?

Okay, you probably don't remember. When my husband left to work in Germany for 9 months I made myself a bucket list of sorts. The goal was to force myself to live my life to the fullest, even though I was alone. I have not been recording it very well, but I am making slow and steady list accomplishments! 

That hole was so easy to dig, just like a big shovel test. 

I planted a tree. Do not worry arborists, I planted this tree in the fall when it was appropriate (I know all of my readers were deeply concerned). Her name is Wanda and she is a Brown Turkey Fig tree. I did my research (there is a Brown Turkey Fig tree up the street) and I know it will grown in my climate. It should also produce this summer, if I can manage not to kill it. She is small, but cute!

Wanda in the ground

Turns out planting a tree is just like shovel testing, meaning, I just had to dig a hole and put the tree in it. But, now I have a tree!

I went trail running last Saturday. It was beautiful and rewarding. The sun was shining and we were having a freakishly warm day (I mean in the 70 degrees Fahrenheit range). I liked it. Driving to run seems a little silly to me, so this will be a sometimes treat. 

This is totally a posed picture, I did not bring my camera running silly!


Okay, I am saving the best for last! This is actually the reason I have been an itinerant blogger lately. I have been obsessed with quilting. 

I can not believe I turned this fabric...

 into a bunch of little squares,

which I sewed together and added applique circles.

Then I trimmed the fabric,

 and added a border.

 And attached to a batting, then tried to add a backing. It turns out the cat loves quilting. It is the MOST fun thing a cat can do to slide across the living room on fabric. Tunneling under fabric is pretty fun too.

Sewing machines are less fun, but make great human hunting blinds.

After some intense cat battles and some actually quilting, I got this! (full disclosure: it is not actually done, it still needs trimming and binding).


It is a beautiful and rewarding thing. There are tons of mistakes and little things that will bug me. But, I am a beginner. I have gained so much confidence in my sewing! The reason the binding is not finished is I had to start my second quilt (I do have a solid start on my binding and I will probably bring it when I have to go to Savannah at the end of the month). The next quilt is going to be a gift for someone and I am operating on a deadline.

Unfortunately, that person reads this blog. So, no pictures until after the deadline.

Back to sewing! Happy Sunday!