Showing posts with label vegetarian. Show all posts

Saturday, February 18, 2012

Swiss Chard and Winter (in a manner of speaking)

Is that swiss chard in that sandwich? Brilliant.
It is winter here in North Carolina.

Winter is hiding just like the fuzz (sorry couldn't resist posting this picture).
Well, that is not exactly true. It would be more accurate for me to say it is February in North Carolina.  Winter implies a certain amount of cold miserable weather, which has just not happened. I am okay with that. I have decided that if I can not ski I do not care for winter. All it does is kill my favorite vegetables.

Except this year it has not! I mean, I am not eating tomatoes or anything, but certain winter greens have been coming to the farmer's market every week (that's right, we hippies in the south have a year round farmer's market). It is certainly not the bounty we get in summer. In February, I will take it.

I have many favorite winter vegetables. I love carrots, brussels sprouts, squash, and I have even developed a soft spot for kale (prepared properly). My favorite is swiss chard.

Reasons swiss chard is kick a** (this blog is PG, sort of):
1. It is beautiful (I know it comes in rainbow and plain, as with most things, I prefer rainbow). I love bright colors and this is one vegetable that can give me that in spades.

Rainbow Chard! I have no idea why my cell phone is right there. I am probably checking Facebook or something else essential. A glimpse into my fascinating life.
2. It is versatile. Soup, gratin, tossed with pasta, sauteed with [insert favorite seasonings here], and many other applications all taste wonderful.

3. It makes me feel healthy. I know that chard is not healthy when doused in cream, covered in cheese, or cooked with olive oil, but a girl can convince herself otherwise. This is a vegetable. Healthy.

Garlicky Swiss Chard Grilled Cheese
Serves 2 to 4 depending on how much chard you get

1 Bunch of Swiss Chard (I like rainbow, but it really does not matter)
2 cloves garlic
Olive oil
Salt
Butter
Bread (I prefer sourdough sandwich bread, but a whole grain bread would be healthier and anything will really do)
Cheddar Cheese (I like a sharp white cheddar, but make it your own!)

1. Remove the swiss chard from the stems and roughly chop it into approximately 2 inch square pieces. Peel and chop up the garlic cloves. If you are a better person than me chop up your stems and use them too. I am going to save these for something else because I do not like the texture in the sandwich.
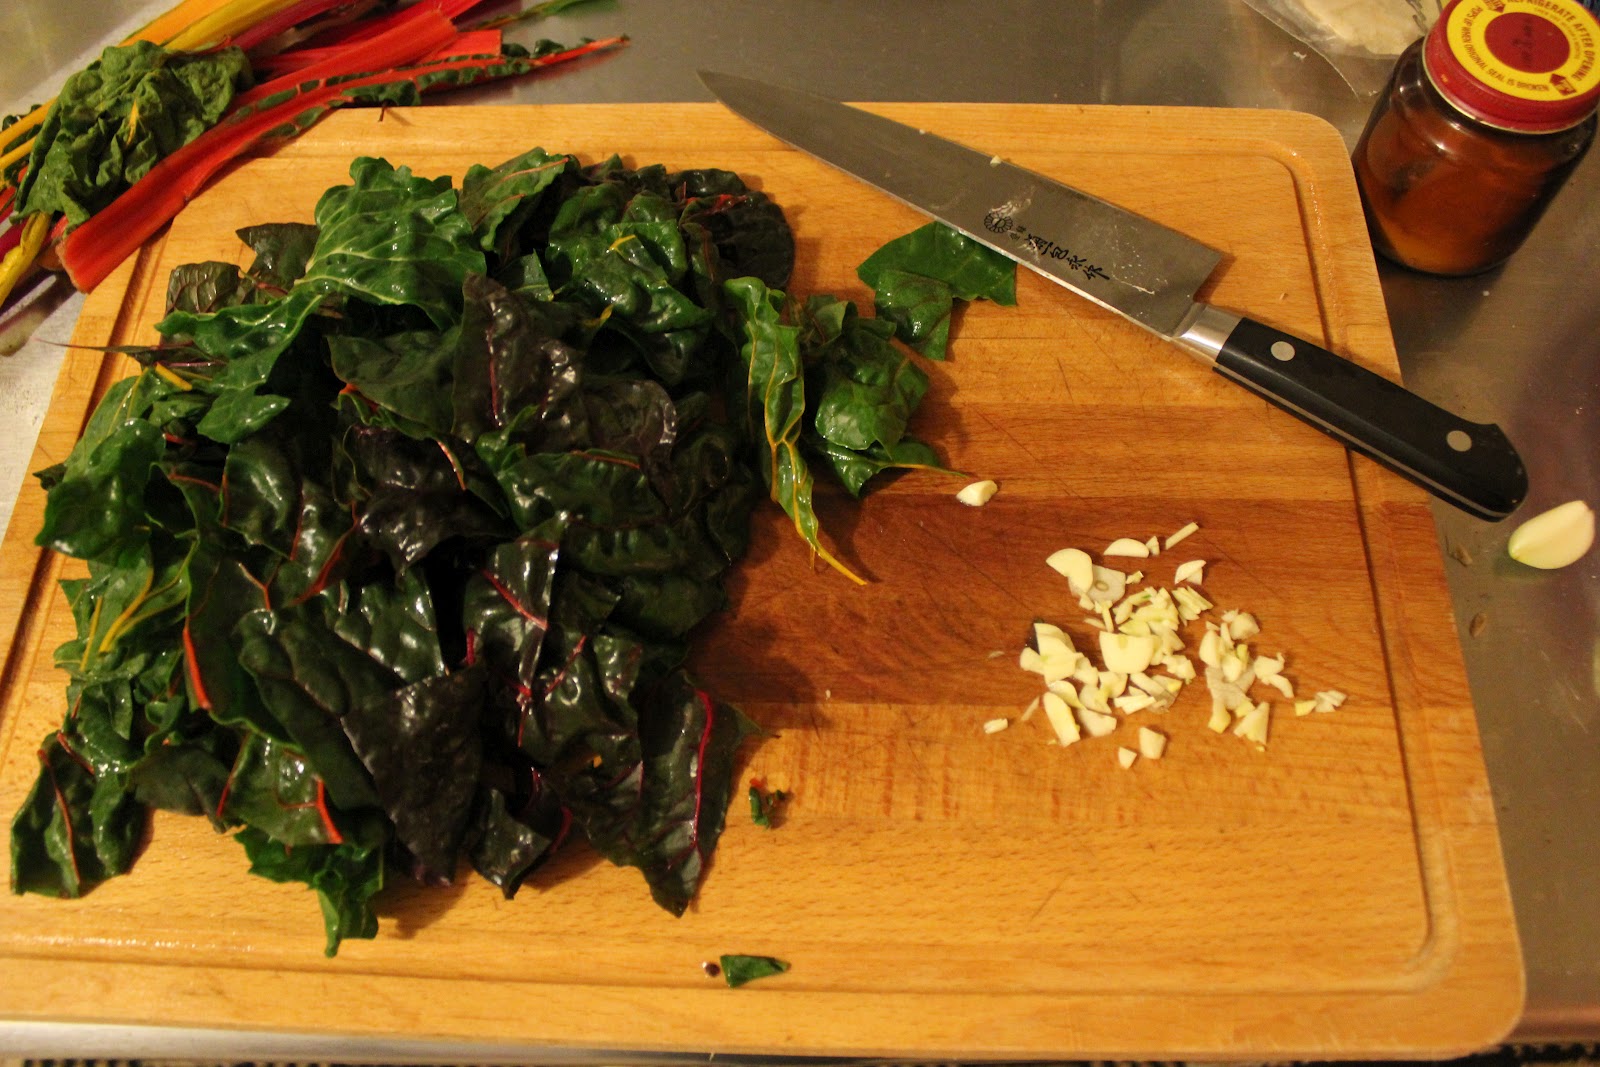
Tasty chard and so beautiful
2. Heat a heavy pan to medium heat with about a tablespoon of olive oil. Toss the chard, garlic, and a pinch of salt in the heated pan. Stir to get everything combined. Cook for about 1 minute like this then cover the pan and reduce the heat to medium low. Cook this way until the chard is tender and droopy (about 5 minutes). These will need longer if you added the stems. Remove the lid and let all of the water cook off. Take the chard out of the pan, but leave the pan on the heat.
Before
After
3. Take two slices of bread and butter one side. You can be as generous or stingy as you would like here. I try and straddle a very fine line between gluttonous and boring. More butter = more crusty deliciousness.

Buttering bread. What's that Sarah, an apple cider? I am going to start calling it chef juice (thanks Gilmore Girls).

4. Slice your cheddar to taste and place it on the unbuttered side of one of your bread slices. Cover this cheese with a generous handful of chard. Add the other slice of buttered bread on top (butter up). Repeat process with all of the sandwiches you wish to make.

Assembling sandwich.
5. Put this sandwich on the heavy pan. No grease necessary, remember the butter. Cook until the bottom is golden brown and the cheese has started to melt. Sometimes I use the lid for part of this time to speed up the cheese melting. Flip the sandwiches and do the same for the other side.

Sandwiches in the pan.
6. Remove and serve with tomato soup, roasted potatoes, by themselves, the world is your oyster.

Served with roasted potatoes. Winter dinner. Done. 

Sunday, November 13, 2011

Penne with Creamy Tomato-Chipotle Cheese Sauce on a Lazy Sunday


It is Sunday.

It is cloudy outside.

I am going to Nashville tomorrow. For 23 hours. Total. That is the whole trip.

How did I decide to spend this day?

There were many things I should have done. I should have cleaned the bathroom, paid bills, raked leaves, and done a million other things tormenting me from my to do lists (note the use of the plural). I did do some of these things.


Then, I needed a break. You ask, "how did you decide to take this break?" I made pasta and watched a made for TV movie (starring James Van Der Beek, no joke) with Max on the couch. Don't judge me about the movie.


This pasta recipe is perfect for happy comfort times. It is fast and simple. This is one of the pasta sauce recipes that taught me that pasta and sauce belong together. It is smokey, hardy, and creamy. So satisfying.

I used to think pasta sauce came out of a jar. You open a jar, heat up the sauce, boil the pasta, then you serve pasta and sauce at the table. It turns out that pasta tastes better when it is finished in the sauce, then it absorbs some of the sauce and flavor. Sauce does not need to come in jars all finished. It comes from ingredients, ingredients that do not necessarily need all day to cook. Not necessarily complex.

This is it. Pasta + ingredients = pasta in sauce.

Penne with Creamy Tomato-Chipotle Sauce
modified a little from A Year in a Vegetarian Kitchen by Jack Bishop

2 tablespoons extra-virgin olive oil
4 medium garlic cloves, minced
2 small chipotle chiles in adobo sauce, minced (these exist in almost every grocery store)
1 tablespoon of the adobo sauce (from the jar)
2 14.5 ounce cans of diced tomatoes
salt
1 pound penne, rigatoni, or any tubular pasta
2 tablespoons minced fresh cilantro leaves
5 ounces feta cheese or a fresh goat cheese


1. Bring 4 quarts of water to boil in a large pot. I have always heard that the water should be as salty as Mediterranean... I am not sure I ever remember specifically tasting the Mediterranean, but I think the water should be salty because it seasons the pasta and then you need less salt later.

Garlic and chipotle chiles are really all it takes to flavor this pasta.

2. Heat the oil in a large skillet over medium heat. When the oil is warm, add the garlic and cook for 1 to 2 minutes. The garlic should be golden and delicious smelling. Then add the chipotles and adobo sauce. Cook this until fragrant (about 1 minute)


3. Add the tomatoes and a three fingered pinch of salt to the chiles and garlic. Now we have a sauce! Bring this to a simmer and allow it to cook for 15 minutes.

These are home canned tomatoes. Derek and I spent hours making these this summer. When I opened up the can, it smelled like summer again. Was it worth the time? Questionable.


4. When there is about 10 minutes left for the sauce, add the pasta to the boiling water. Cook it for about 2 to 3 minutes less than the package says. You want it to be too undercooked to eat when you drain it. Trust me. Before you drain the pasta reserve about 1 cup of the pasta water. Drain the pasta.

5. Crumble the cheese into the sauce and combine. Add the pasta to the sauce and stir it up. At this point, I usually add about 1/2 cup to 1 cup of pasta water to the pasta and sauce. This helps get the sauce evenly distributed and the starches in the pasta water help thicken up the sauce. Stir the pasta constantly into the sauce until the pasta absorbs the sauce and the pasta is cooked to your taste. Stir in the minced cilantro.

Pasta water is miraculous.


6. Eat! Preferably with Van Der Beek and a kitten.


P.S. - His forehead is really huge. What a man.